The Best Settings for Concert Photography
I get asked this question constantly. What aperture should I use? What shutter speed do I need? What ISO is too high? The honest answer is:
There's no single right setting.
Lighting changes by venue, by artist, and even by song. Your personal style matters too. That said, here's a solid foundation to build from.
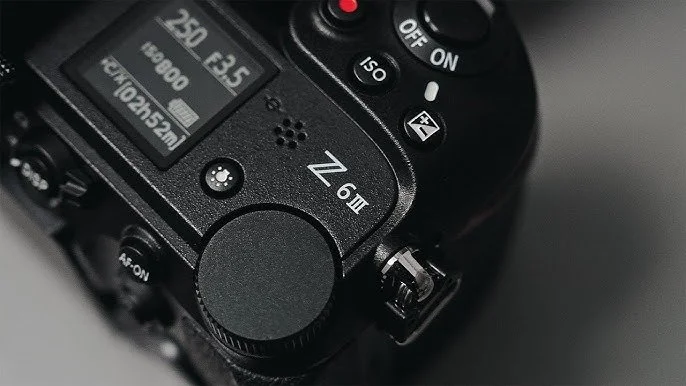
Aperture
f/2.8, 1/400, 6400 ISO
Unless you're at a daytime festival, your biggest challenge at most concerts is the lighting. And here's the frustrating part: the more experienced you get, the bigger venues you get access to, which generally means better lighting. TD Garden is a very different beast than your local bar. But when you're just starting out, you're probably working basement shows and small clubs with rough, unpredictable light.
In those low-light situations, you want to shoot as wide open as possible. That means working with a lens that can get you to at least f/2.8. Prime lenses can take you down to f/1.4, which is a big deal in a dark room.
The tradeoff at wide apertures is depth of field. At f/1.4, your focus needs to be spot on. Even a small miss will show. In better lighting, like an arena or an outdoor day show, you can safely stop down to f/4. But stay away from f/9 and above. Apertures that work great for landscapes will make your concert photos look flat and dull. And practically speaking, shooting that tight will make it nearly impossible to maintain a usable shutter speed without blowing out your ISO.
Shutter Speed
There's a classic photography rule that says your shutter speed should be at least double the inverse of your focal length. Shooting at 200mm? Use at least 1/400. That rule is a decent starting point, but it's built around static subjects. Concert photography is a different beast entirely.
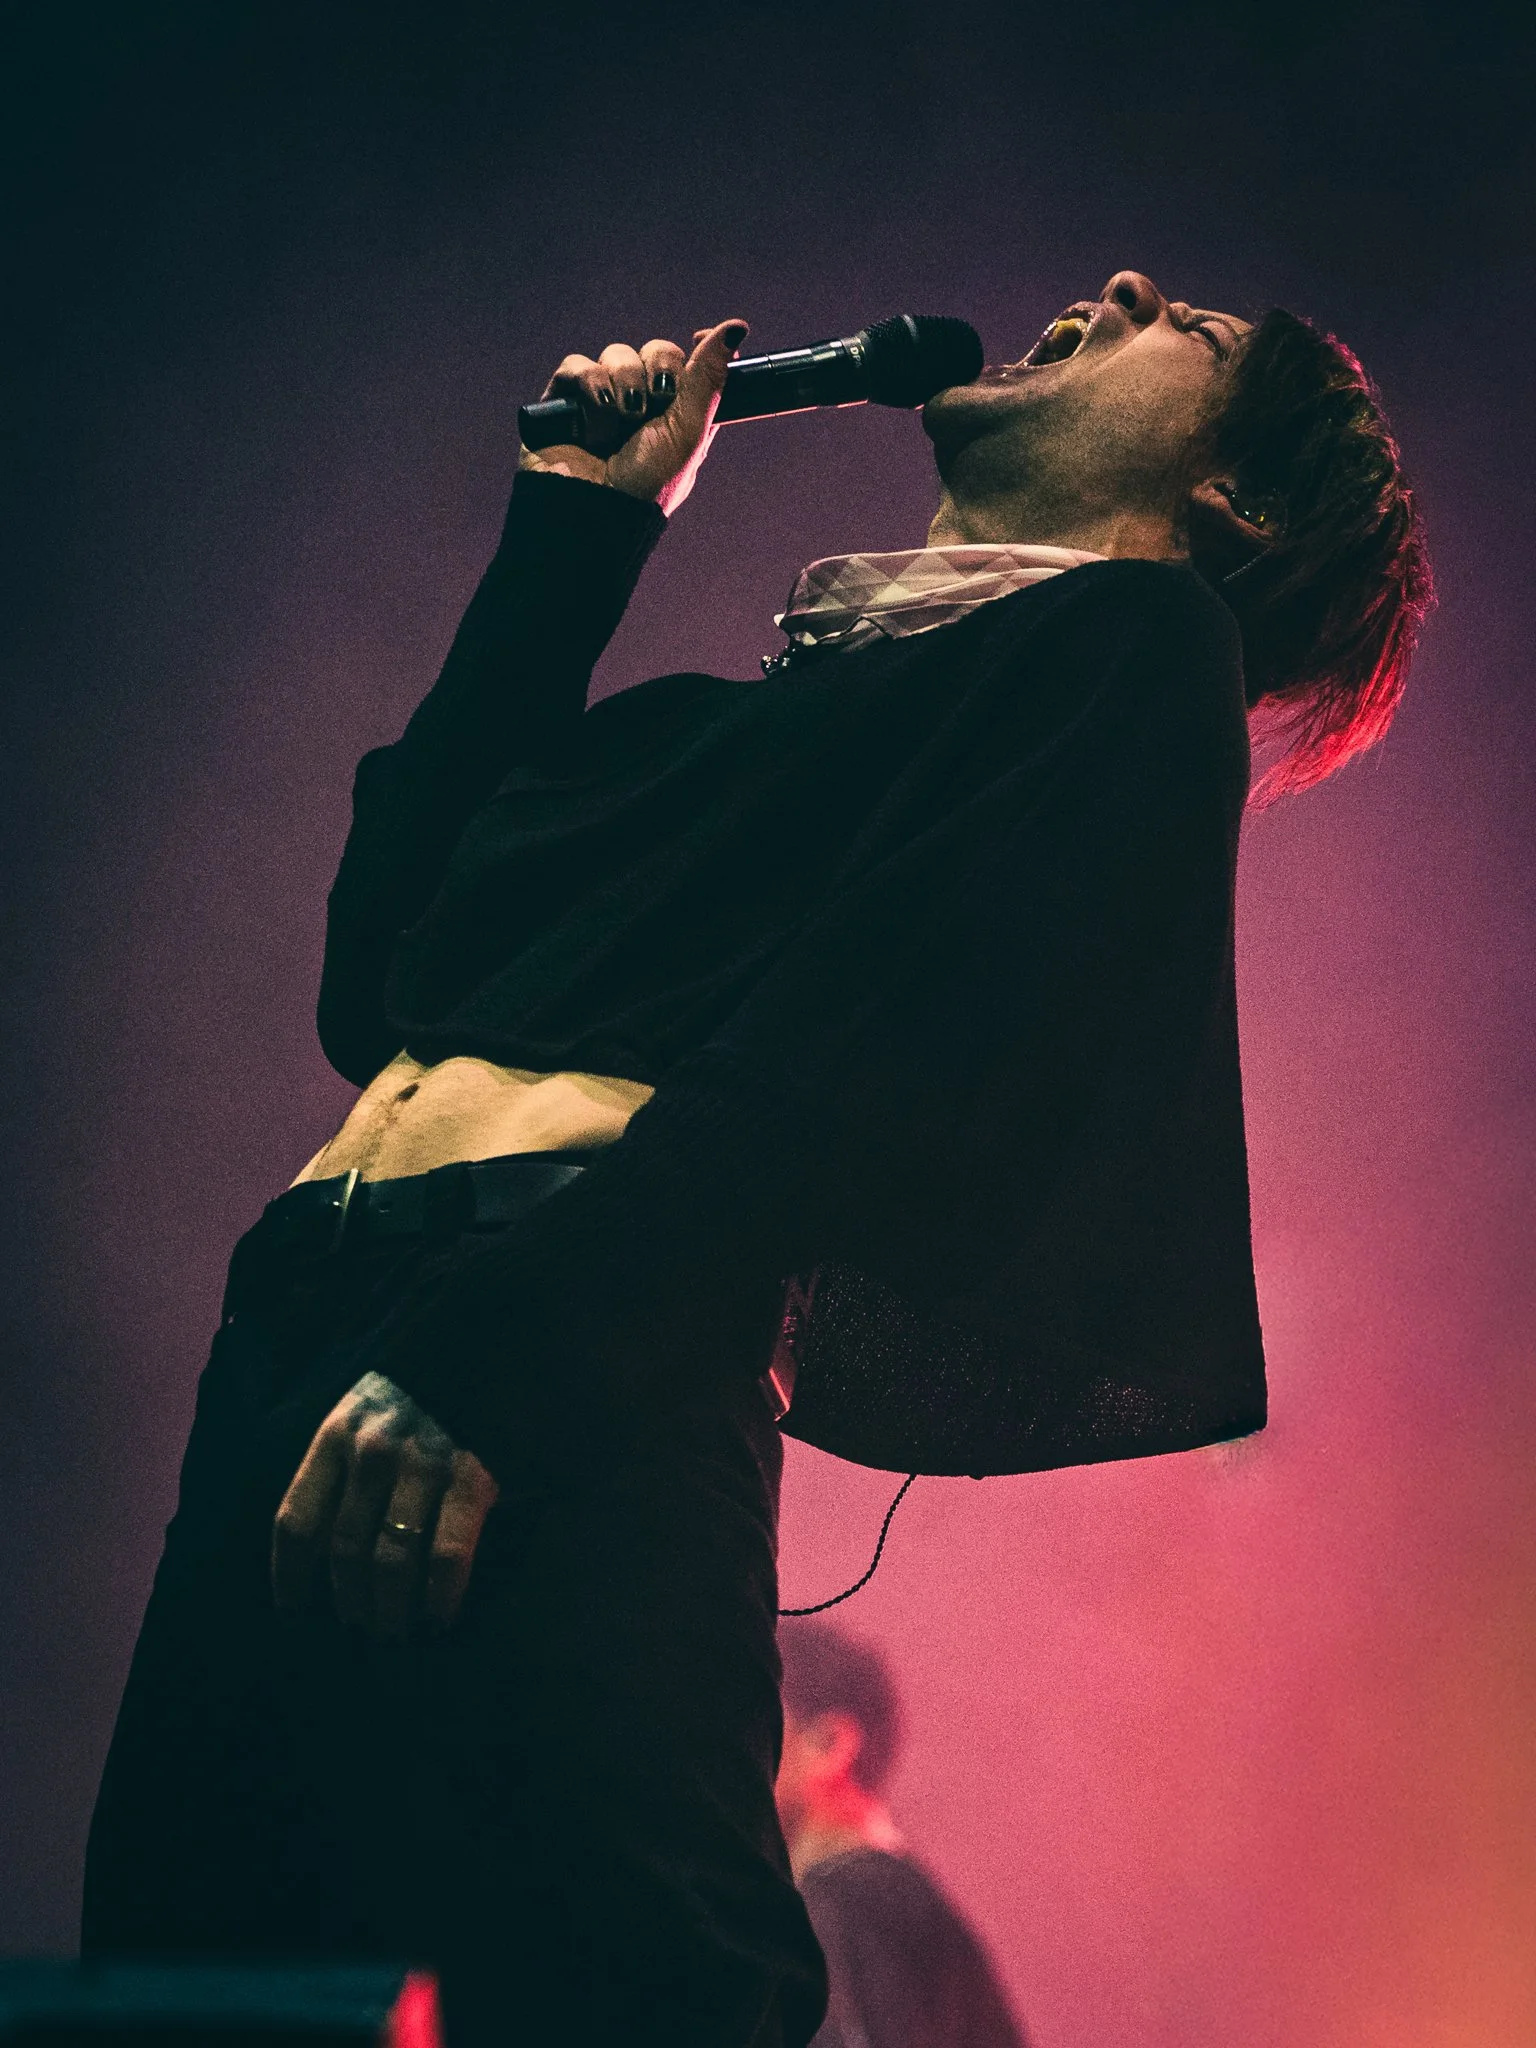
f/2.8, 1/200, 22,000 ISO
Hair flips, guitar solos, crowd surfers, a singer jumping off the monitor. If you're dipping below 1/250, a lot of that is going to come out blurry. Play it by show, and even by moment. Some performers barely move. Others never stop.
Personally, I try to stay around 1/400 regardless of the show. It covers me with faster-moving artists and gives me some buffer at longer focal lengths. If you're shooting metal and want to catch the drummer at just the right moment, 1/800 or faster might be what you need to get the job done, but this shutter speed will be difficult to shoot a whole show at.
There's also a creative angle here. Intentionally dropping your shutter speed creates shutter drag effects that can look really interesting in the right moment. That's a whole other conversation, but it's worth knowing the rule before you break it on purpose.
ISO
Once you've dialed in your aperture and shutter speed, you want ISO as low as you can get it. But here's my biggest piece of advice for concert photography: do not be afraid of high ISO.
A grainy photo beats a blurry or out-of-focus one every single time. Grain can have character. Blur is just a mistake. And with modern cameras and tools like Lightroom's Denoise, you have way more room than you might think. I've gotten shots I'm genuinely proud of at 32,000 ISO.
Never sacrifice your aperture or shutter speed to keep ISO down. If the show demands 10,000 ISO, shoot at 10,000 ISO and deal with it in post.
Focus Mode
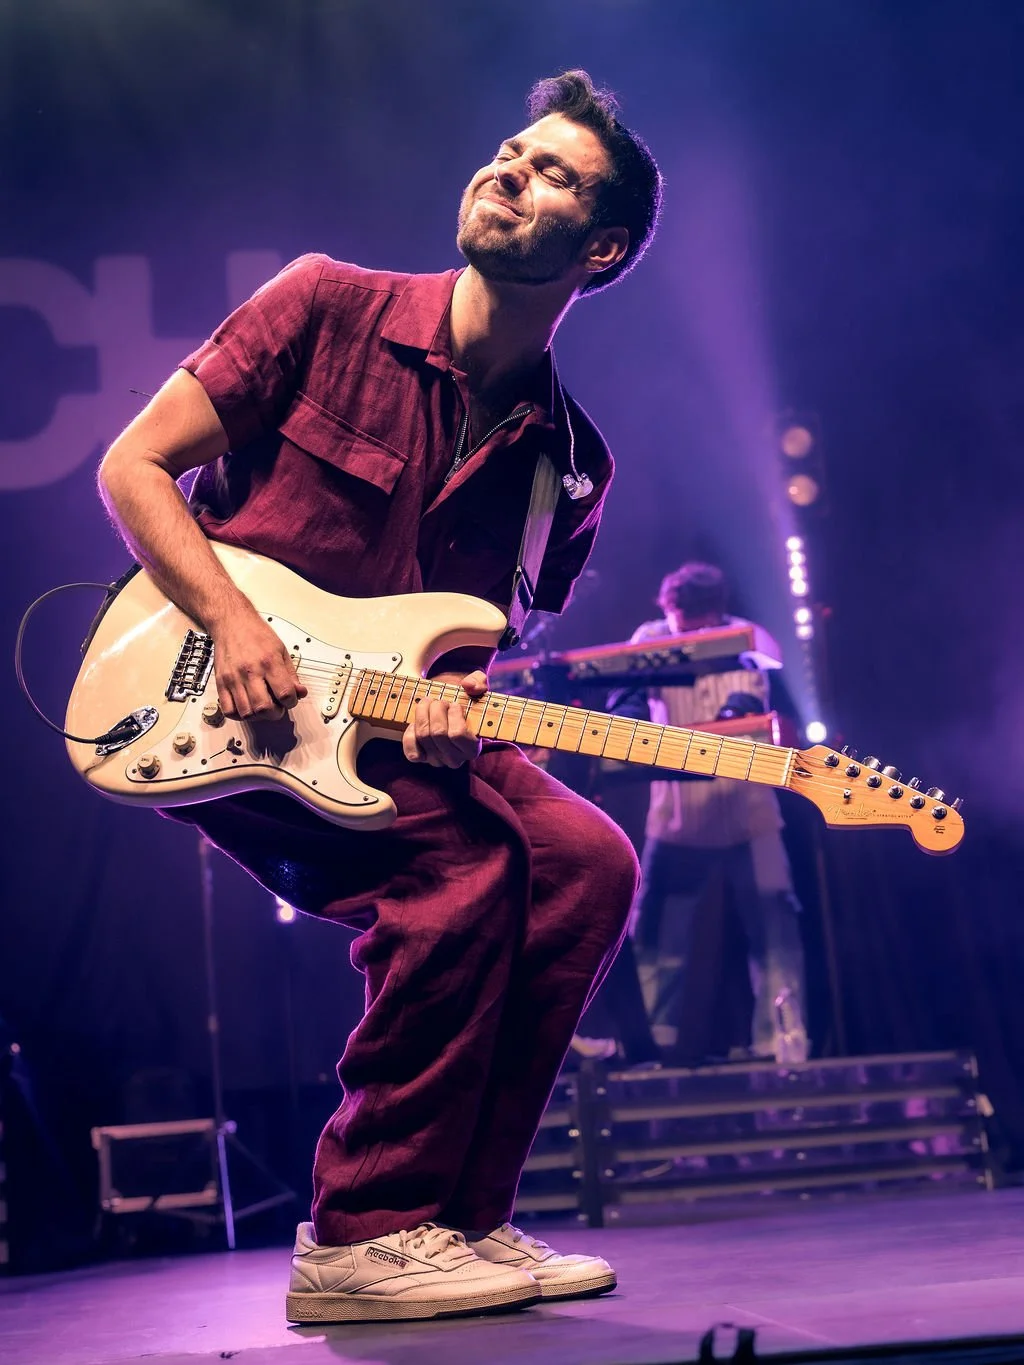
f/4, 1/400, 2000 ISO
Let's talk about focus mode, because this one matters more than people give it credit for. If you have a mirrorless camera or a newer DSLR, use your subject tracking. Eye and face tracking in particular is a game changer at shows. Your camera will lock onto a performer and follow them even as they move around the stage, which frees you up to think about composition instead of fighting your focus point.
Pair that with continuous autofocus mode and your camera is constantly adjusting as your subject moves, rather than locking in once and hoping for the best. I do know a few photographers who shoot concerts with manual focus. Respectfully, those people are insane. There is too much happening at a show to rely on manual focus and risk missing a moment that isn't coming back. Use the tools your camera gives you. That's what they're there for.
Everything Else
The big three get most of the attention, but a couple of other settings are worth locking in before you walk into a venue.
Shoot RAW. You're not shooting film. You have the storage space. RAW gives you so much more flexibility in post to fix exposure, color, and other mistakes. Shoot JPEG and you're stuck with what you got. The quality difference is significant, and you will notice it when you're trying to rescue an underexposed frame from a dark club.
Turn on burst mode, as fast as your camera will go. Yes, you'll end up with a mountain of photos to sort through in Lightroom. That's fine. Shooting at a slower burst rate means you risk missing a peak moment or catching someone mid-blink at exactly the wrong time. Hammer the shutter. Your camera can handle it, and so can your editing software.
TL;DR
None of this is one-size-fits-all. Adjust for the venue, the light, and what you're trying to capture. But if you need a starting point: shoot wide open, keep your shutter at 1/400 or faster, don't fear high ISO, always shoot RAW, and turn burst mode all the way up. This isn’t a strict guide. Play around with it. You’re going to make mistakes. Learn from them and grow from them.